Tips / Guidelines for Planning a Water Harvesting System

Photographer: Jo Miller
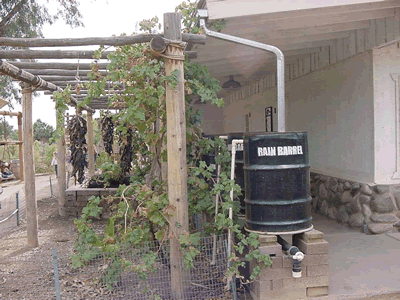
| □ | Begin with long and thoughtful observation of where and how water flows, not just on your property but in the watershed in your area. What is working, what is not? Build on what works. |
| □ | Start at the top, the highpoint on your property and work your way down. At the top, you can use gravity to direct the water as it naturally travels downhill, and there is less volume and velocity of water. |
| □ | Start small. Work at a human scale so that you can easily build and repair everything. |
| □ | Encourage the flow of water to spread and sink. Rather than having water erode the land’s surface, by quickly traveling off your property, encourage it to stick around, flow slowly, and infiltrate into the soil. |
| □ | Pay special attention to spillways and overflows. Always have an overflow plan for times of extra heavy rains. |

Photographer: Jo Miller
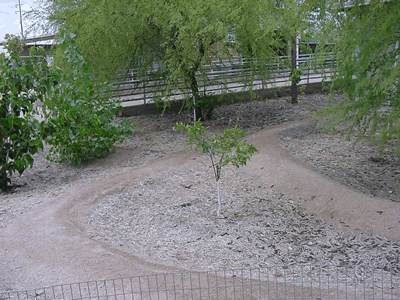
| □ | Maximize organic soil cover by using mulches and planting vegetation. Create a living sponge so the harvested water is used to create more resources. The soil will also increase its ability to hold water. |
| □ | Stack functions in which plants and landscape elements serve more than one function. For example, water harvesting strategies can do more than collect water. Slightly raised berms from swales can act as high and dry paths. |

Photographer: Jo Miller
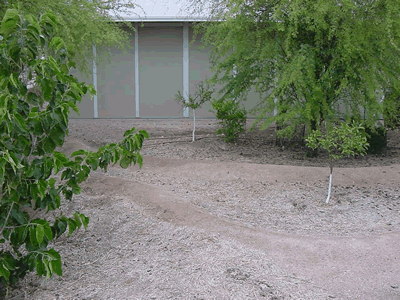
| □ | Observe during rain events and make modifications. Continually reassess what you have done and make any needed changes. Modify and learn. |
Cromell, Cathy; Miller, Jo; Bradley, Lucy K.; Earth-Friendly Desert Gardening; Arizona Master Gardener Press in Cooperation with the University of Arizona Maricopa County Cooperative Extension, 2003. Adapted from guidelines developed by Brad Lancaster.